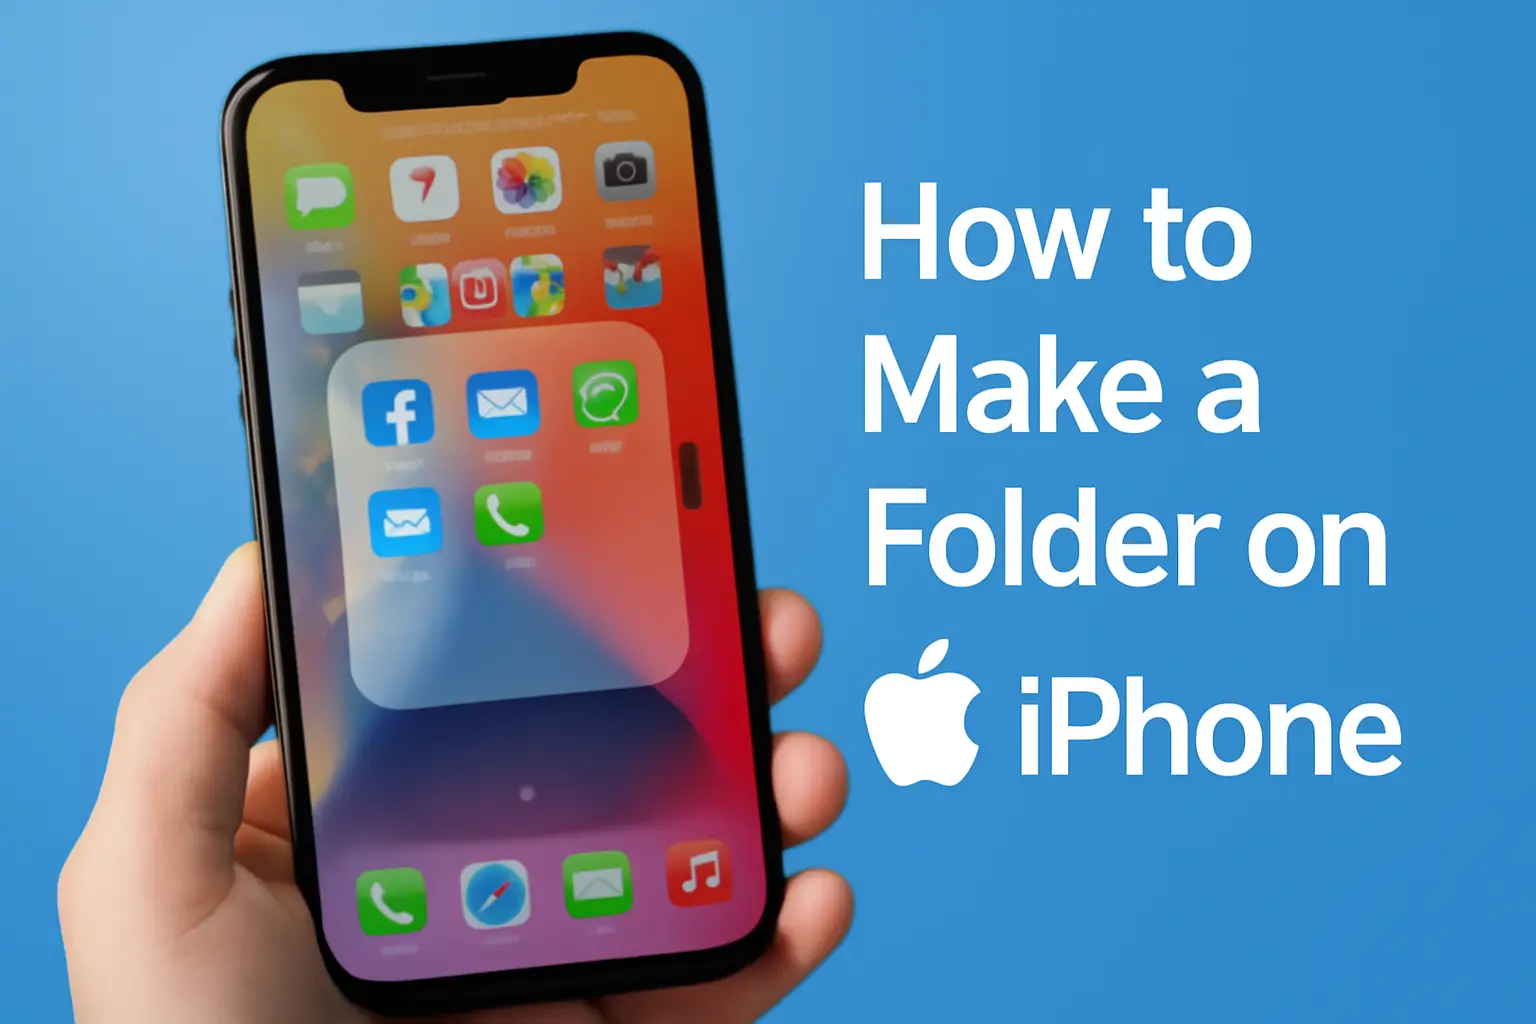
Creating folders on your iPhone is a simple way to organize your apps and optimize navigation on your device.
If you have many apps on your iPhone and are looking for an easy way to keep them organized, creating folders is the solution.
Here’s a detailed step-by-step guide on how to do it easily.
1. Tap and Hold an App Icon
First, choose an app that you would like to add to a folder. Tap and hold the app icon until it starts “wobbling.” This indicates that you’ve entered edit mode.
What happens in this step:
When you hold the app icon, the device enters a mode where you can move apps.
The app icon will start wobbling, and you’ll see a small “X” at the top left corner of each icon (if you want to delete the app).
2. Drag the App to Another
Now, drag the app you selected to another app you want to group in a folder. Just touch the app icon and drag it over another app’s icon.
What happens in this step:
By doing this, the iPhone will automatically create a folder for the two apps.
You’ll see a new area being formed around the apps, indicating that the folder has been created.
3. Name the Folder
The iPhone will automatically suggest a name for the folder based on the apps you’ve grouped, but you can rename it. To do this, tap on the folder’s name (which usually appears as a suggestion) and type the desired name.
Examples of folder names:
- “Work” for productivity apps.
- “Games” for your entertainment apps.
- “Health” for wellness and fitness apps.
- “Social Media” for Facebook, Instagram, Twitter, etc.
4. Add More Apps to the Folder
Now that the folder is created, you can add more apps to it. To do this, simply drag the icons of other apps into the folder.
What happens in this step:
The folder can hold multiple apps. The iPhone allows you to add many apps to a folder, depending on your iOS version.
To add more apps, just repeat the drag and drop process.
5. Tap “Done”
After organizing all your apps into the desired folders, tap the “Done” button in the top right corner of the screen. This will finalize the process, and your folder will be ready for use.
What happens in this step:
After tapping “Done,” the screen returns to normal mode.
You can now quickly access your folders without needing to search for the apps individually.
How to Edit or Remove Apps from a Folder
If you want to edit or remove apps from an existing folder, just follow these steps:
- Tap the folder to open it.
- Tap and hold the app icon you want to move or delete.
- To move, drag the icon out of the folder.
- To delete, tap the “X” that appears on the corner of the app, but remember this will delete the app from your iPhone.
Tips for Better Organizing Your Folders
Here are some extra tips to further optimize your iPhone organization:
- Create folders by category: Group your apps by usage type, such as “Work,” “Leisure,” “Health,” and “Social.” This makes it easier to search for and access apps.
- Use the home screen for most used apps: Keep only the apps you use most frequently on the home screen, and organize the rest in folders.
- Use Siri’s suggestions feature: iOS automatically suggests the most used apps in the search screen, which can further ease navigation.
Conclusion
Now that you know how to create folders on your iPhone, you can efficiently organize your apps and improve the device experience. The process is quick, simple, and will help you become more productive, as well as keep your phone cleaner and more functional.
Ready to organize your iPhone? Follow the steps and start creating your folders now!